
I have a fingerprint reader for my Windows desktop computer (a Kensington Verimark FIDO key) that easily allows me to log in with Windows Hello without typing a password.
For my work computer, I haven't had the same luxury. I use my work MacBook Pro exclusively in 'clamshell' (closed) mode when I'm at home, as I have two monitors and a separate keyboard and mouse.
This means that I can't use the 'Touch ID' fingerprint reader on the laptop's keyboard, and Apple doesn't support any third-party fingerprint readers. The only option for users in this situation is to use an external Apple keyboard that has a compatible Touch ID sensor.
I've put up with typing in my password over the past 5 years, but in that time, the security teams at the places I've worked at have (probably wisely) implemented short timeouts on the work laptops which lock them after a short period of inactivity. As a result, I annoyingly need to enter my password much more frequently.
Taking some inspiration from the internet, I decided to find a cheapish Apple keyboard with Touch ID and 'extract' (😏) the fingerprint reader from it.
I managed to find a relatively cheap new-but-without-box keyboard on eBay. The seller is an IT recycler and was selling a lot of them, so I assume they got a bunch of Apple refurbs or a shipment where the boxes got damaged.
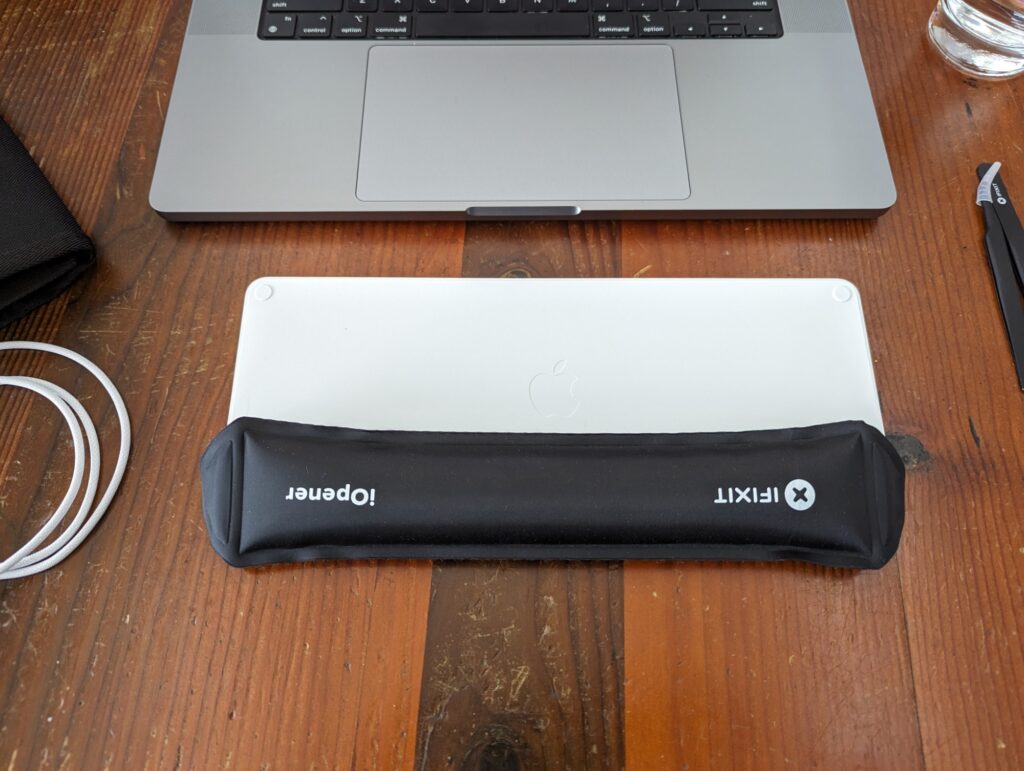
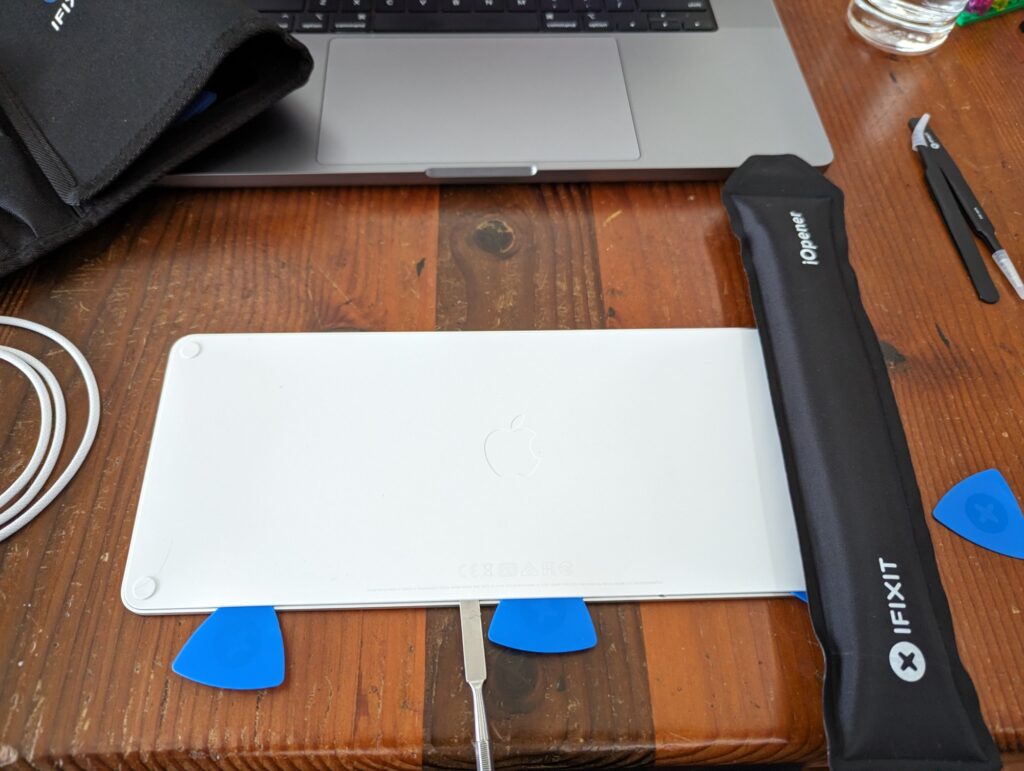
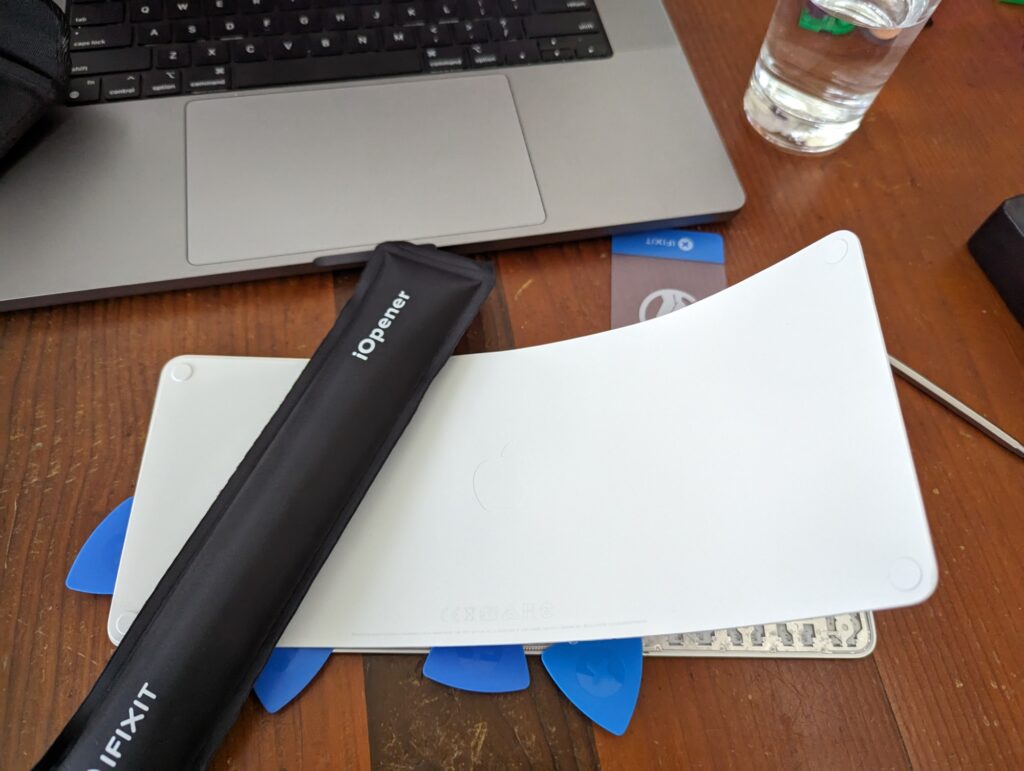
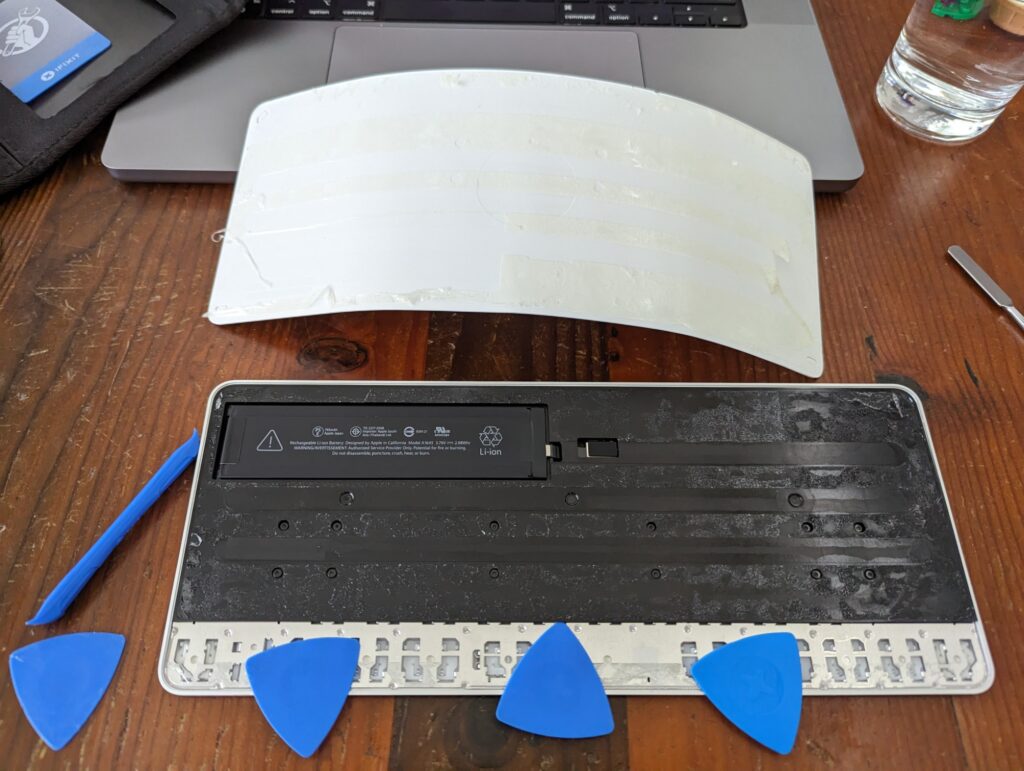
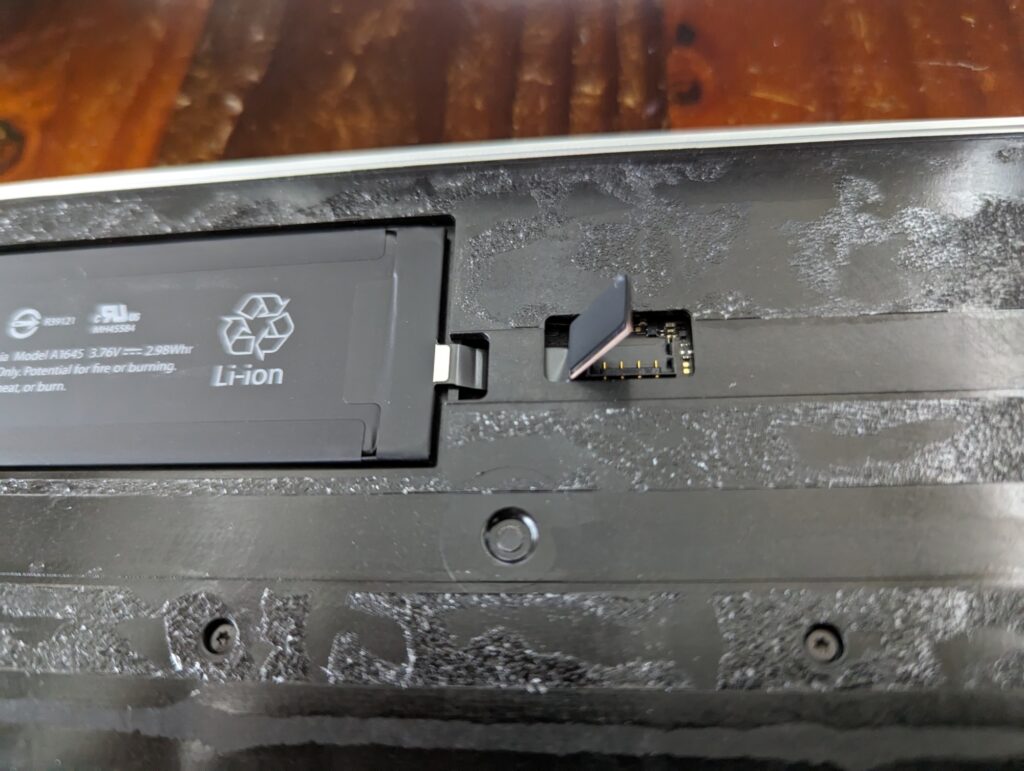
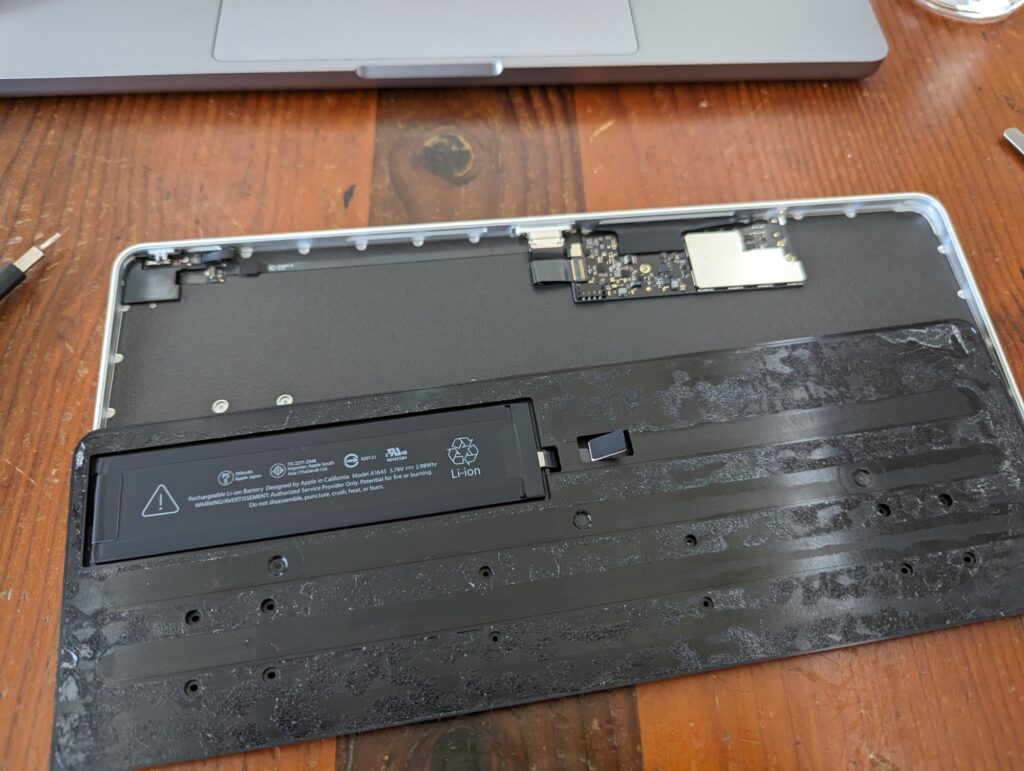
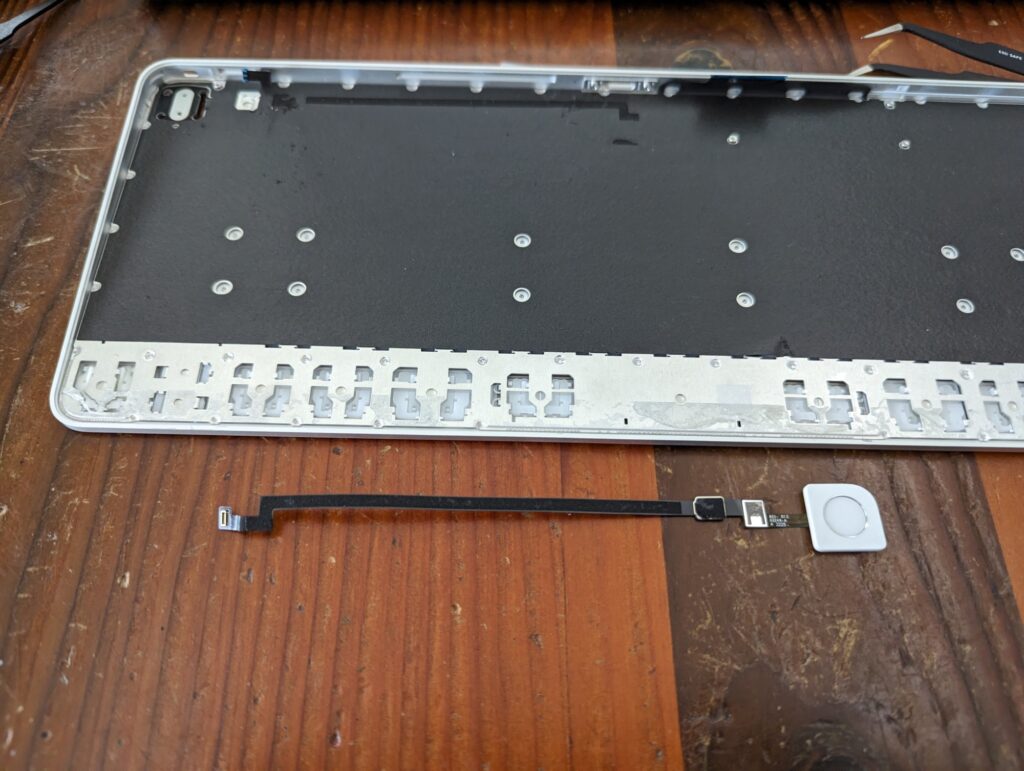
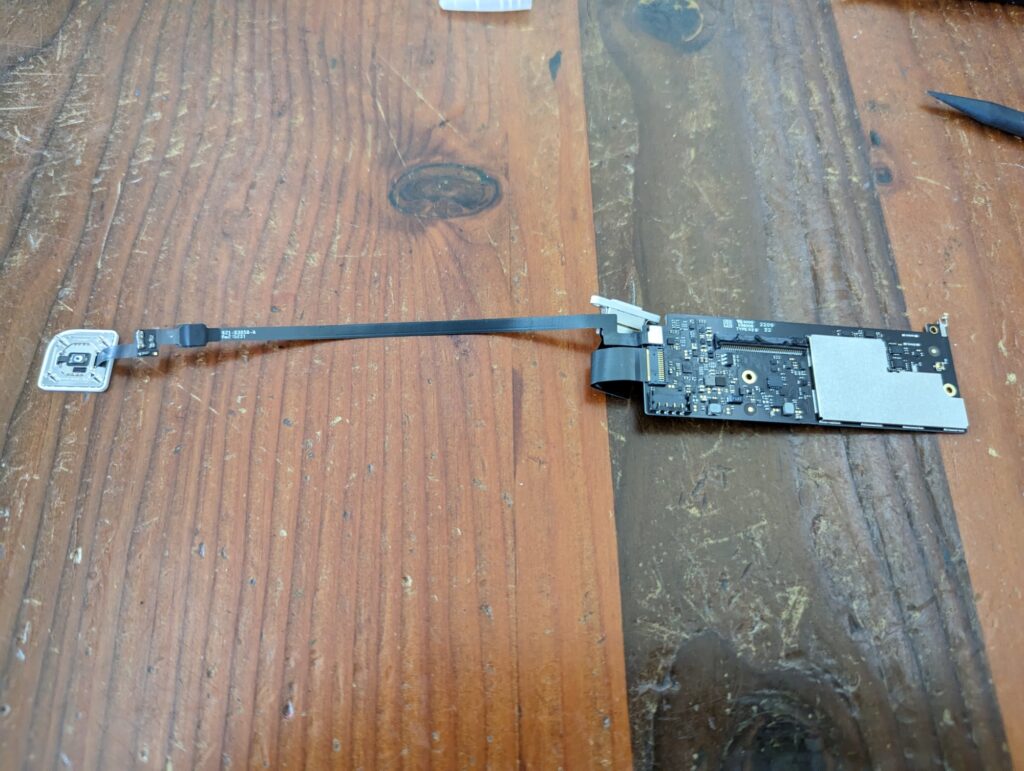
Following other people's videos, I used various iFixit tools to get past the horrendous glue and extract the sensor and the keyboard's PCB.
This is definitely a one-way process. Apple does not make these things to be repaired, and the only positive thing I can say is that the battery had adhesive pull-tabs, so it made that easy and safe to remove. The rest of it gets a 0/10 on my repairability scale. 😜
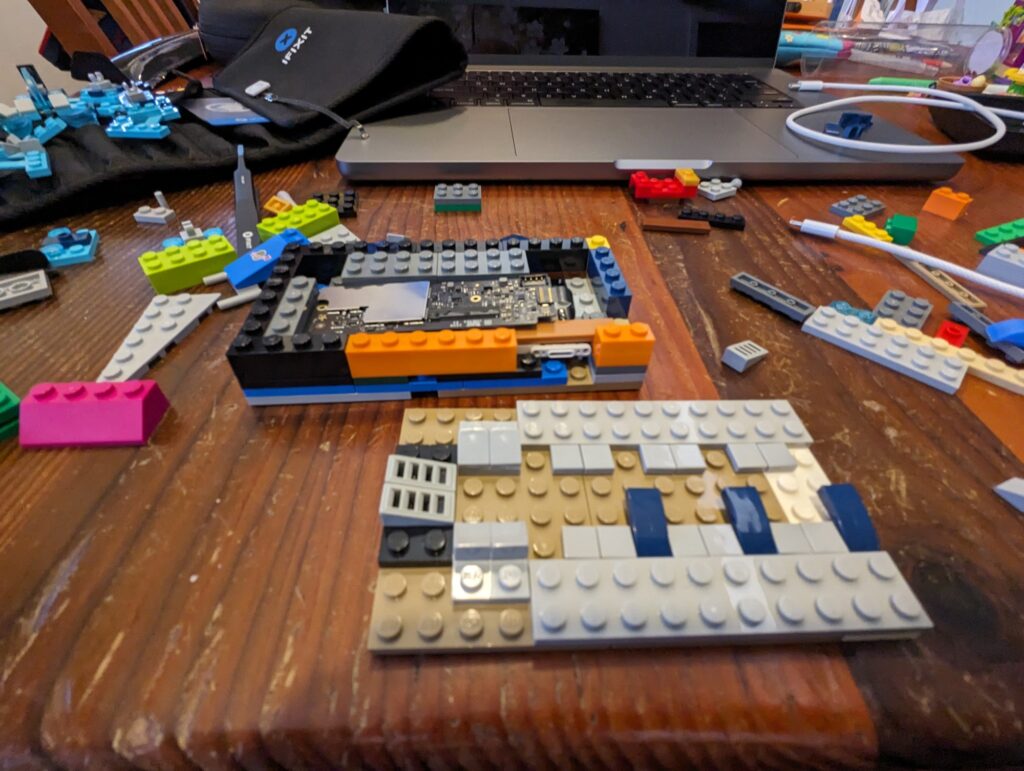
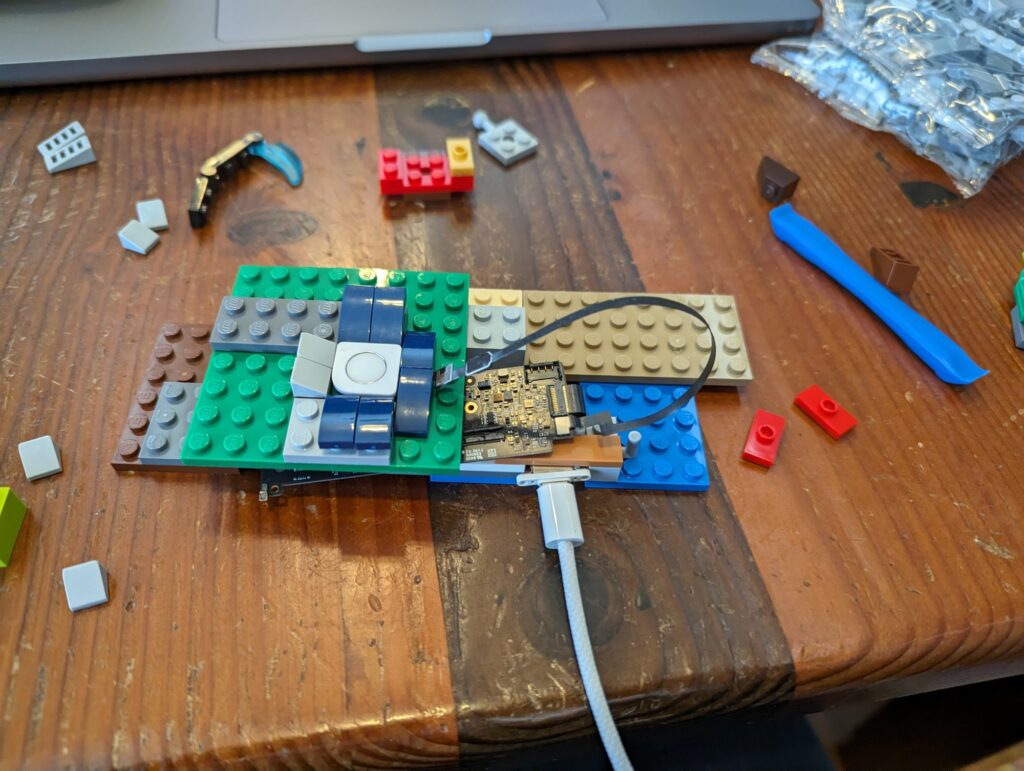
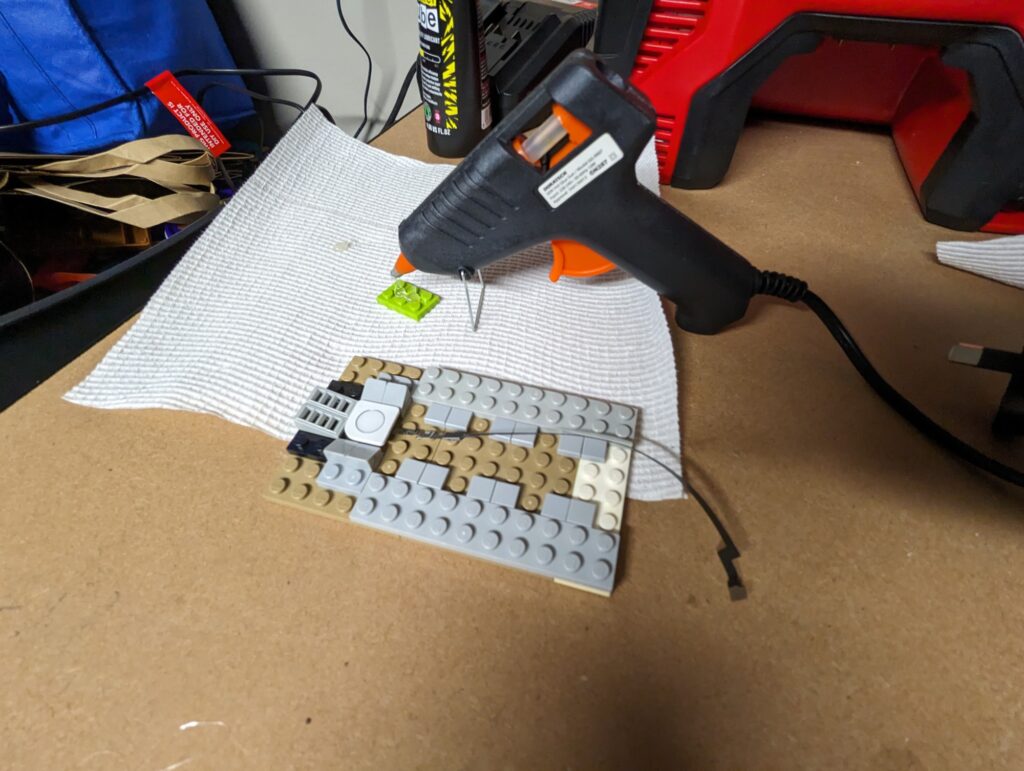
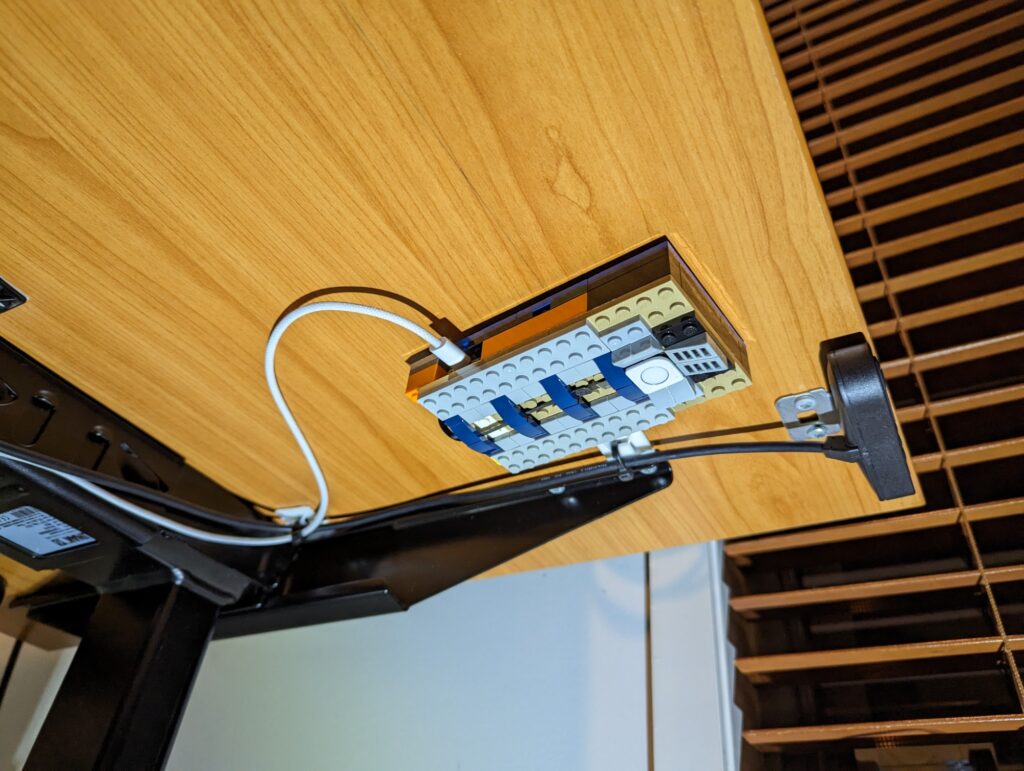
To have the sensor and PCB mostly safe and in a convenient position, I built a basic enclosure out of Lego and velcro'd it to the underside of my desk (inspiration from this GitHub gist). I needed to use some hot glue in a couple of places (to keep the sensor and the Lightning jack in place), but other than that, it was pretty fun and satisfying to assemble!
I used some Lego cheese slope and slope grill pieces around the sensor to guide my finger to the right place. I can easily hit the right spot relatively quickly.
Pictures below!


Love the geeky lego & security content! 🍿
😊💛